Digital Lighting and Rendering
Match to Live
Create a photorealistic 3D render that is so real that it can be shown next to the real life original.
ReRender - Match to Live - Pill Case from Sean Dooley on Vimeo.
Re-Rendered (Winter 2012)
DLR - Match to Live from Sean Dooley on Vimeo.
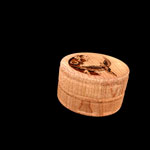
Original Render
Overview
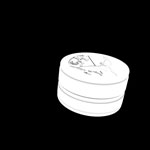
The goal of this project was to create a photorealistic match of a live object to a CG recreation. I chose a wood burned pill case that I received as a gift. From there, I worked on matching the overall color of the 3D case while also trying to match the different lighting contribution passes/layers as closely to the original as I could. I broke down the final render into different Render Passes/Layers, focusing on just the Diffuse, Ambient, Shadows, Occlusion, and Specularity (for the case and the gem individually) one at a time, trying to match each respective component to the original photograph's. I set up the workflow to entail working in Maya and Nuke simultaneously - major changes to the overall setup would be accomplished in Maya while the finer details and color corrects would be achieved in Nuke where I could look at my fake object sitting right next to the original and I could, essentially, preview the final product more promptly.
Review
What I Learned/Challenges
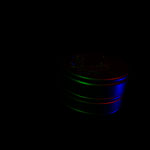
- I learned of a lighting method that's nicknames "RGB Lighting" for using three color lights to create a overall lighting render, and then in Nuke taking each color and breaking apart the imagine into three separate grayscale color masks, much like a traditional alpha mask).
- I learned more about displacement and the advantages and disadvantages to using displacement, especially when it comes to compositing in Render Layers.
- I had a hard time with my scene file becoming corrupt and my occlusion layer breaking so I ended up needing to rebuild the entire scene from scratch.
- I also had difficulty matching the initial camera angle and position accurately - I used Maya 2010's Camera Match tool to help get there faster.
- I had a difficulty matching the different colors of the wood grain especially, and some of my peers suggested that might be caused by two different white balances.
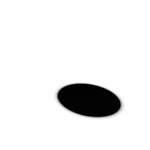
- I had a very difficult time getting the cast ground shadow to look real next to the original in the photograph, not because of the color's, but because all of the people I've shown my match to feel that my shadow should also have that lighter color shape in the center like the original, however, after closer examination, I've found that the original's shadow is lighter at the core like you see because that is actually a reflection of the underside of the plate.
Future Improvements
- I'd like to work further on matching the color's more completely for the wood especially.
- I'd like to work further on developing the mask for the original object further to make my final composite easier.
- I'd like to work further on stitching and cleaning up my good grain texture for the overall pill case - I created that texture by scanning in the original object's pill case and stitching them together in Photoshop. There are still some areas to my texture that could use a bit more clean up.
Technical Breakdown/Extra Information
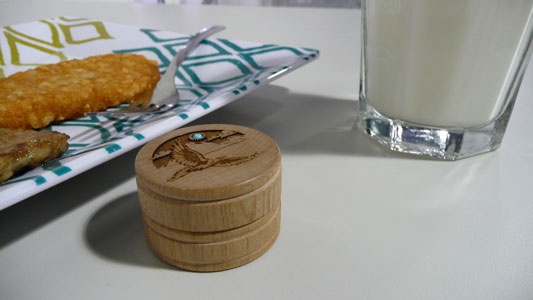
Original photograph for this project.
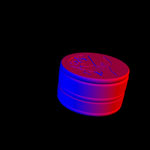
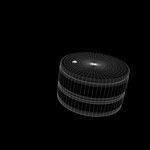
Below are the different passes that I created to help with final compositing inside of Nuke. The last render is of a Wireframe which is more of a detail/explanatory shot for my final video to show the simplicity of the model as well as that the top part of the case is NOT modeled, it's actually displaced.
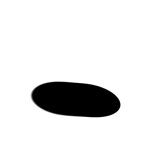
And yes, I do know that the "Specular - Gem" image looks like complete black, my actual render of the specular pass for just the gem actually does have details/colors, however, when compressed to this small of a size, it looks all black like there isn't anything. The details are just really small.
|
|
|
|
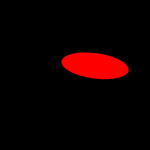
| Ambient - Case | Diffuse - Case | Specular - Case | Occlusion - Case |
|
|

|
|
| Ambient - Gem | Diffuse - Gem | Specular - Gem | Occlusion - Ground |
|
|
|
|
| Shadow - Cast | Shadow - Self | Mask - Case Top | Mask - Original |
|
|||
| Wireframe |
---------------------------------------------------------
This class focused on the foundations of lighting and rendering using Maya. It started by introducing the main different types of lighting computations inside of Maya and then evolved into incorporating those founding principles into more complex and realistic projects, such as the match to life assignment or the mood alteration. Both of which test our skills in understanding the principles of lighting (in Maya and real-life physical light) and the compositing/compounding effects of light.